How I automatically extract my M1 Finance transactions
Follow the guide on automatically and continuously exporting your M1 Finance data from Apex Clearing.
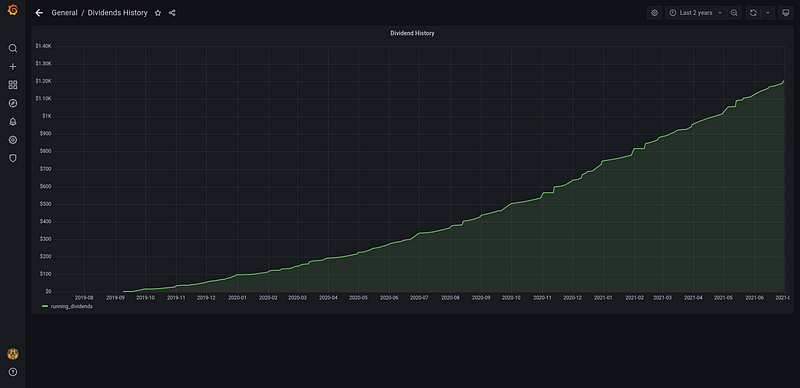
I’m the author behind Meerschaum, and I originally wrote the apex plugin last year as a way to track my own transactions and dividends. I hope this guide makes your investing journey easier and more exciting!Edit: Due to M1’s move from Apex Clearing to in-house clearing, the following article only applies to the date when M1 transferred your account.
M1 Finance is full of features, but one feature the platform lacks is a way to export your transactions history. Many users have asked about ways to export data from M1 Finance to track their investing progress, but because M1’s APIs are internal only, users have to go through Apex Clearing, whose interface is somewhat… dated.
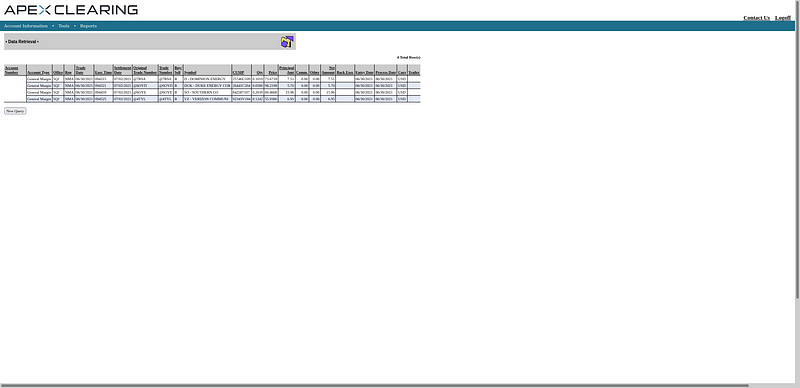
For a one-time export, the Apex Clearing tool will work just fine, but manually exporting data to play catch-up to M1’s automated trades is a huge hassle and just seems wrong. If only there was a way to automate the extraction of time-series data…
Good news, because there is a tool just for that purpose! Let me introduce you to Meerschaum, an open source time-series data management system. Meerschaum is designed to sync time-series data streams, like sensor data or financial transactions, into a database back-end. By default, Meerschaum uses TimescaleDB, which can handle millions of data points, but for this tutorial, we’ll be using a simple SQLite database file. Follow along below for a walk-through on how you can automatically sync your transaction data as well.
Create your Apex Clearing username
Let’s get started. First, we need to create an Apex Clearing user ID. In M1 Finance, click your user icon on the top right, then View Account Settings.
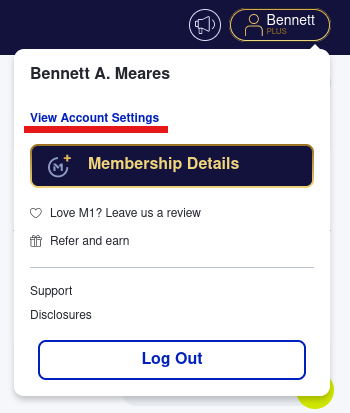
Click on the Accounts tab, and take note of the account you want to track — we’ll need this later.

Next, head over to apexclearing.com and click the account icon on the top right. On the sign-in page you’re redirected to, click Create User ID on the bottom left.
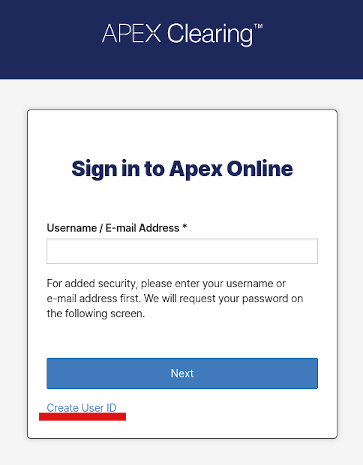
Navigate through the account setup wizard, entering your account number if needed. Take note of your username, password and account number; we’ll need these later.
Install Meerschaum
Now it’s time to install Meerschaum. You can also follow the steps in the Getting Started guide.
If you already have Python installed, you can install with pip:pip install meerschaum
If you don’t have Python installed, don’t worry — you can download and extract Meerschaum Portable. Just don’t forget to run the command upgrade meerschaum after setup to make sure you’re running the latest version.
Next, we need to open Meerschaum. Run the command mrsm or python -m meerschaum if you installed via pip , or run the mrsm script in Meerschaum Portable.

The mrsm@sql:main prompt represents the default database, so we need to change our connected instance because we’ll be using SQLite.
If you have Docker installed (i.e. you are likely a software developer), then you can instead run the full pre-configured data analysis stack.
Type the command instance sql:local to change your instance. By default, sql:local corresponds to a built-in SQLite database, into which you’ll be syncing your data. Your prompt should change to (no username)@sql:local.
Fetch Apex Clearing data
To use the Apex Clearing APIs, we need to install the apex plugin. In the Meerschaum shell, run the install plugin command:install plugin apex
The apex plugin will ask for your Apex Clearing account credentials, which is always concerning. For complete transparency and in the spirit of open source, here is the plugin source code so you can audit exactly what it’s doing.NOTE: The apex plugin is in no way formally associated with Apex Clearing.After installing apex, it’s time to fetch our data. Meerschaum represents data streams as pipes (hence the name), so let’s register a pipe for our financial activities. Run the following command:register pipe -c plugin:apex -m activities
Now that our pipe is registered, we can sync data from Apex Clearing. Run the command sync pipes to launch the apex plugin:sync pipes

On your first sync, apex will ask for your login credentials, which will be stored in plaintext in ~/.config/meerschaum/config/plugins.json (Windows: %APPDATA%\Meerschaum\config\plugins.json), so be careful to protect this file!
Once your credentials are entered, apex will install a Firefox web driver, so make sure you have Firefox installed.
Firefox is necessary because Apex Clearing does fingerprinting to make sure you’re using a real browser.

Automatically sync new data
Each time you run the sync pipes command, apex checks the Apex Clearing API for new transactions. To automate this process, append the --loop flag:sync pipes --loop
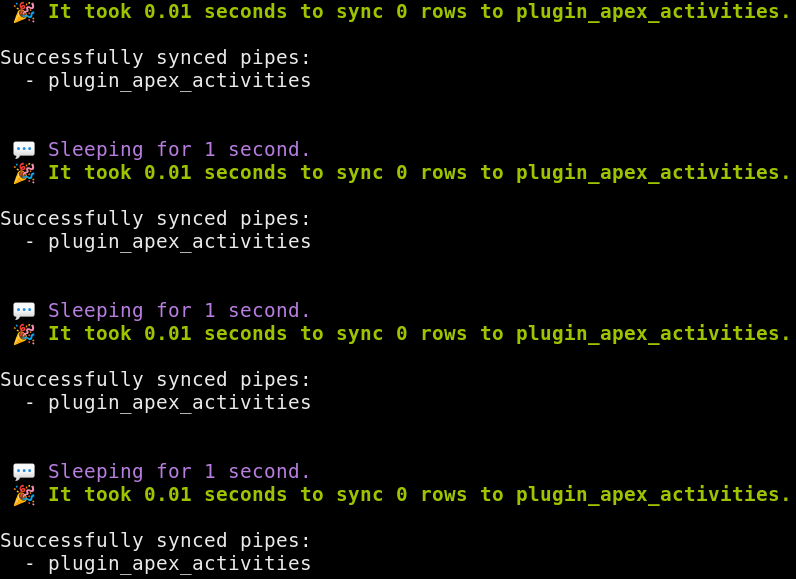
By default, this will continuously sync every second. Unless you’re doing some super high-speed trading, this is way too frequent. We can set the sleep interval with the --min-seconds flag:sync pipes --loop --min-seconds 3600
Now Meerschaum will wait an hour between syncing. Go ahead and specify your own syncing interval if you like!
Syncing data in the background
You’re finally syncing data, great! But once you close your terminal window, the syncing stops. Let’s find out how to keep the process running in the background.
Luckily, Meerschaum can run your commands as background jobs. In your Meerschaum shell connected to sql:local, run the same command as before but with -d appended at the end.sync pipes --loop --min-seconds 3600 -d
The -d flag (short for --daemon) will start a new background job with a random name. To see the status of your jobs, run the command show jobs .

Notice in the above screenshot that Meerschaum added some flags. The --name flag is used to assign a label to the job in case you want a custom name, and the -i flag specifies the connected instance sql:local. You can override these flags if you would like.
To “attach” to the output stream, run the command show logs:
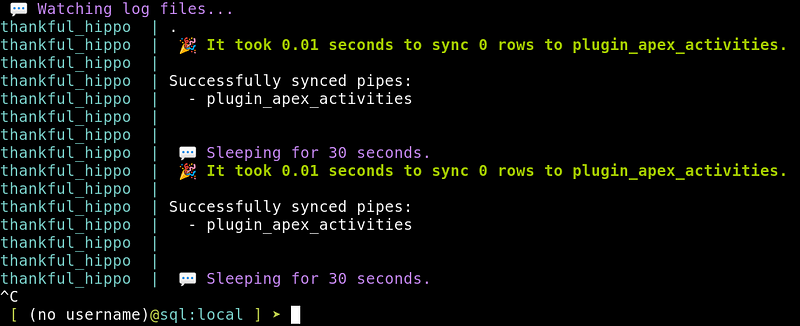
To see a complete output, add the --nopretty flag:show logs --nopretty
Let’s pause the job. Run the command stop jobs to shut down the syncing process.

Currently, Meerschaum does not clean up logs for running jobs (in case you want to inspect a problem later down the road). Your logs are stored in ~/.config/meerschaum/logs/ (Windows: %APPDATA%\Meerschaum\logs) in case you want to manually delete any (just make sure to stop your jobs first!).
To restart a stopped job and replace its logs, run the command start jobs. To delete a job and its logs, run the command delete jobs.

Visualize your data
Your data are currently stored in the SQLite database file at ~/.config/meerschaum/sqlite/mrsm_local.db (Windows: %APPDATA%\Meerschaum\sqlite\mrsm_local.db), or in whatever instance you chose. Let’s explore some ways to move the data around.
To verify the data are all there, run the show data command:show data all

If you use spreadsheets, you could export your data into a CSV file. Run the command python from the Meerschaum shell, and enter the following Python code:import meerschaum as mrsm
pipe = mrsm.Pipe('plugin:apex', 'activities', instance='sql:local')
df = pipe.get_data()
df.to_csv('apex_data.csv')
The above snippet creates a Pandas DataFrame and writes it to a CSV file in your current directory, which you can then open in a spreadsheet program.
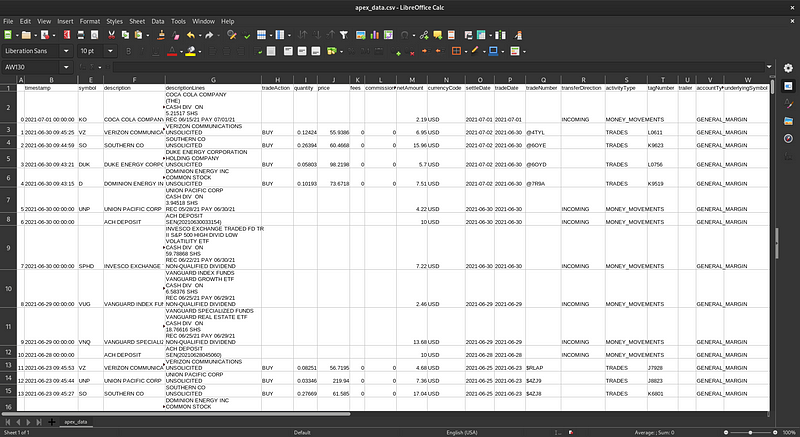
You might paste the above snippet into your own Python script if you’d like even more automation, or if you’re a bit adventurous, you could even write a small Meerschaum action plugin.
What about Grafana?
If you went with the Docker pre-configured data analysis stack option mentioned in the beginning, then your data are automatically available in Grafana. The dataset for the dividends-running-sum screenshot at the top of this article was automatically generated as the table sql_main_activities_running_dividends and has the following SQL query definition:SELECT DISTINCT
timestamp,
( SUM("netAmount")
OVER (ORDER BY timestamp ASC)
) AS "running_dividends"
FROM "plugin_apex_activities"
WHERE symbol IS NOT NULL AND symbol != ''
AND "transferDirection" = 'INCOMING'
AND "activityType" = 'MONEY_MOVEMENTS'
If you want a live updating dashboard, then Grafana is the way to go. Guiding you through installing Docker is beyond the scope of this article, but if you want to give it a shot, you can follow this guide for quickly setting up a Meerschaum stack.
Conclusion
You’ve got your M1 Finance data flowing, and you can choose how you analyze your findings. I recommend using Grafana by deploying a Meerschaum stack on a dedicated Linux server, but it’s up to you how to consume your financial data.
I’ve wanted to track my dividends history since opening my M1 account in 2019, but I found it to be a hassle to manually update my spreadsheets every few months. At the same time, I was working on Meerschaum as a data engineering tool for data scientists, so it was only natural to write a plugin to extract my M1 Finance data. I’ve seen many posts on the M1 Finance subreddit asking for ways to export data, so I thought my plugin might be useful for others. Tracking my data helps me stay invested, and I hope it helps you too!
